Posts Tagged ‘baking’

How to Make Cake Pops

Tuesday, October 25th, 2011

<– Part 1 | Part 2 | Part 3


Halloween Cake Pops

As soon as I saw this Cake Pops recipe I wanted to make cake pops and Halloween seemed like the perfect occasion. As it turns out cake pops are very time consuming and a lot harder to make than I thought they would be. You can read all about my first failed attempts in my previous post “How NOT to Make Cake Pops”. I’m happy to say that I finally figured out the trick to cake pop success and I will share my tips with you below.

To see how I prepared the cake balls themselves, pop over to “Halloween Cake Pops Part 1” which has baking photos and tips.

Decorating Cake Pops Step 1: Melt the Chocolate

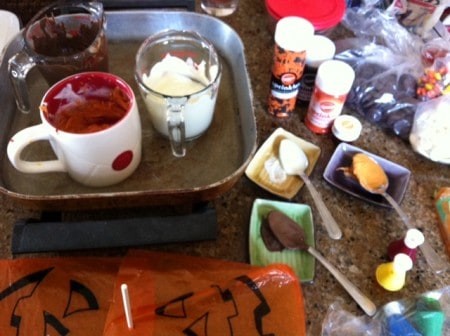
To melt the chocolate I put white and dark melting chocolate in Pyrex containers and set them in an inch of water in an electric frying pan set to just below simmer. If the chocolate is too hot it will start to harden and take on a fudgey texture. It’s important not to drip any water in the chocolate as it will ruin it’s ability to melt nicely. I have different spoons for each chocolate pot so that I can occasionally stir or aid in the dipping:

Cake Pops Set-Up for Melted Chocolate

Decorating Cake Pops Step 2: Secure the Sticks

Before you start dipping your cake balls in the melted chocolate there are two essential steps (in order to avoid cake pop flops). I’m very grateful to a friend of mine for letting me in on this little secret as it made all the difference in the success of my cake pops:

First, place your chilled cake balls in the freezer for approximately 20 minutes, just enough so that they will hold their shape when you insert the lollipop sticks.

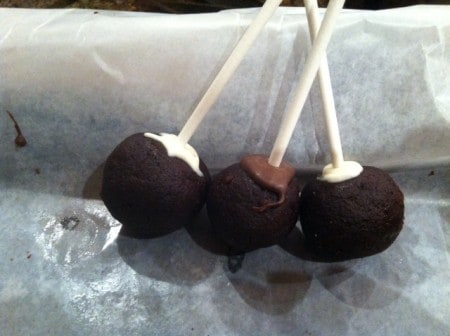
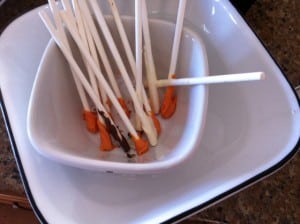
Second, dip the end of the lollipop stick in melted chocolate and immediately insert it into a cake ball. It helps if the chocolate forms a ring around the lollipop stick at the base of the cake pop. This will help secure the stick in the cake pop so that the cake ball won’t fall off when you dip it in the chocolate.

Once you have inserted all of the lollipop sticks using this method then pop them all back in the freezer to really secure those sticks and make sure the cake isn’t going to crumble or fall off when you go to dip it:

Secure the sticks in the cake pops with melting chocolate and set in freezer

Decorating Cake Pops Step 3: Drip Before you Dip

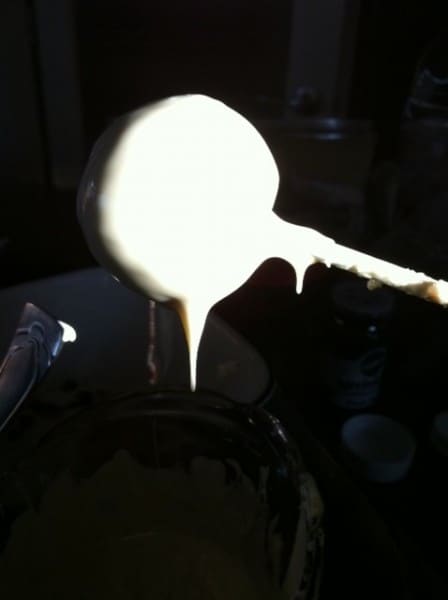
Dip the cake pop into the melted chocolate so that it is fully covered, then pull it out and let the excess chocolate drip back into the melting pot. You can even gently tap the lollipop stick on the side of the pot. This will ensure that the weight of the sprinkles won’t cause your chocolate to drip down the stick taking the sprinkles with it!

Drip the excess chocolate off of the cake pops before adding sprinkles

Decorating Cake Pops Step 4: Add Sprinkles

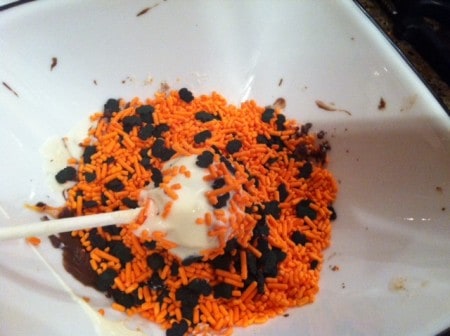
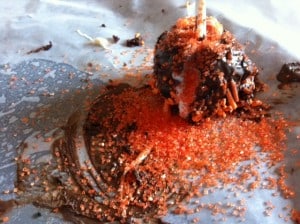
Add the sprinkles before your chocolate hardens either by sprinkling them over the cake pop or by rolling the cake pop in a bowl of sprinkles:

Roll the Cake Pop in Sprinkles

Decorating Cake Pops Step 5: Stick and Set

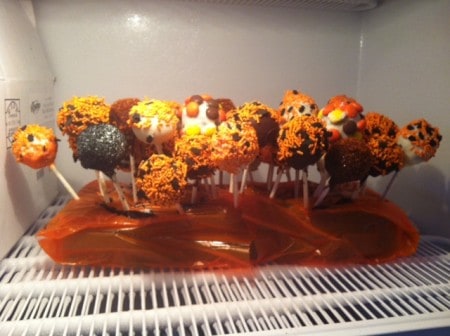
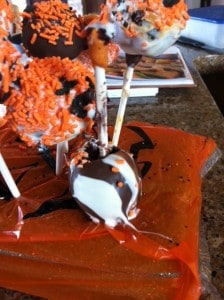
To let the cake pops set stick them in a block of styrofoam (or I’ve also seen them stuck into an upside down egg carton) and pop them in the freezer so the chocolate will really harden and set in place. If your party is a few days away you can leave them in the freezer but I don’t recommend leaving them longer than that as the cold air will dry out the chocolate and it could even give it a white tint. But a few minutes to a few days is no problem:

Put the Cake Pops on a styrofoam block and harden in freezer

I’m so excited for my guests to see and sample my Halloween Cake Pops this weekend. That is if my husband and I don’t eat them all first!
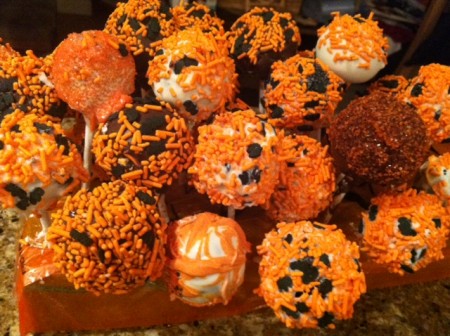
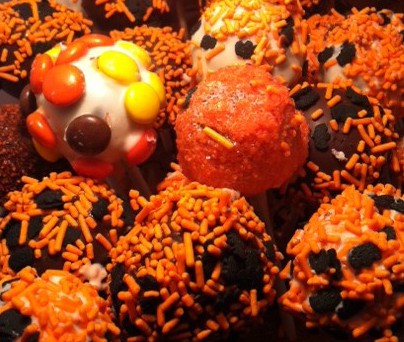
Cake Pops with Black and Orange Sprinkles and Reeces Pieces

<– Part 1 | Part 2 | Part 3

How NOT to Make Cake Pops!

Monday, October 24th, 2011

<– Part 1 | Part 2 | Part 3 –>

Okay, so in my last post on Halloween Cake Pops I was so excited at how my cake pops were turning out. I proudly displayed all the wonderful photos of preparing the cake and icing and mixing it to form the cake balls (see Part 1 Halloween Cake Pops here). I couldn’t wait to keep working on them but little did I know what was in store for me.

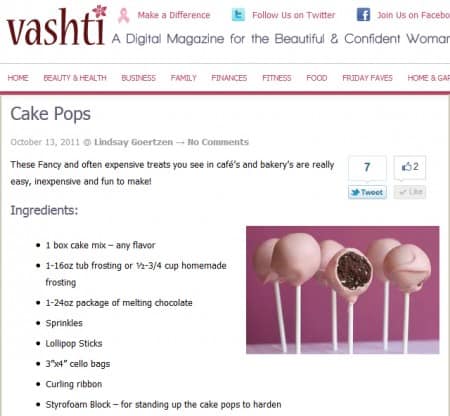
In the cake pop tutorial I used each cake pop looks perfect and so easy to make:

Vashti Online Digital Magazine - Recipe for Cake Pops - link

I love this recipe. (click the picture above to see the full article)

So how could I go wrong, right? Well, as it turned out, there are plenty of ways to go wrong when making cake pops and I am here to help you avoid the mistakes I made in my cake pop baking adventure.

Cake Pop Mistake #1: Drip Stick Disaster

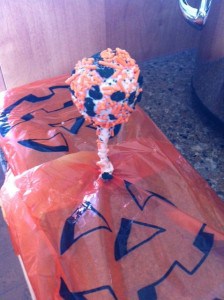
If you don’t carefully drip off the chocolate before you roll the cake ball in sprinkles, the whole mess will start dripping down the lolipop stick. Ack!

Cake Pop Dribble Mistake

Cake Pop Mistake #2: Cake Sticks to Fork Mess-Up

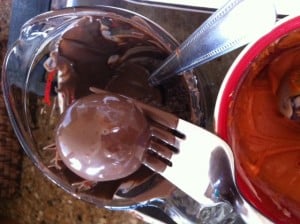
If you have ever made chocolates you may have used this trick of letting the chocolate drip through a fork. I thought I was a genius for coming up with this nifty way to avoid the dripping disaster (see cake pop mistake #1 above). My plan was to let all the excess chocolate drip off, then I would transfer the cake ball to a bowl of sprinkles, and then insert the lollipop stick.

Unfortunately, cake is sticky and soft and it likes to attach itself to the fork and so in trying to detach the cake ball some of the cake would stay on the fork and cause a big mess. Ack!

Cake Pop Drip Mistake

Cake Pop Mistake #3: Fat Sticks Cause Cake Ball Explosions

I found out the hard way that letting some chocolate harden on the end of the lollipop sticks is not a good way to make cake pops. Apparently you are supposed to dip a stick in the melted chocolate and immediately put it into the centre of a cake pop so that the chocolate will harden and help keep the cake pop together. Who knew that letting the chocolate harden on the sticks would make them fat and cause the cake pops to slowly explode from the added volume. And here I was trying to be efficient:

Cake Pop Fat Sticks - hardened chocolate coating Mistake

Exhibit A: Cake Pop Flop

This is what happened to one of my cake pops. The hardened chocolate on the lollipop stick created a massive hole in my cake pop and as it was setting the whole cake pop dropped down the stick onto my styrofoam base. Ack!

Cake Pop Flop

Exhibit B: Cake Pop Explosion

This cake pop didn’t even make it to the styrofoam base. When I inserted the lollipop stick it exploded and even though I tried to repair it with extra melted chocolate and attempted to cover my tracks with extra sprinkles, it looks like my cake pop’s guts are spilling out. Appropriate for Halloween I suppose, but not exactly the party favour I was going for. Ack!

Cake Pop Bust

Cake Pop Mistake #4: Clumpy Chocolate Mass

In my extra cleverness I added orange food colouring to melted white chocolate to match my Halloween theme. It took quite a lot of food colouring to get the colour I wanted. Big mistake! If you’ve ever made chocolates before you might know that you’re not supposed to add water to melted chocolate… well apparently mass amounts of food colouring will have the same effect: the chocolate will harden, clump, and take on the texture of old crumbly fudge.

Absolutely no amount of heating, stirring or added butter will make this chocolate dip-able. Ack!

Cake Pop Icing Food Colour Disaster, chocolate is hardened into a fudge like consistency rather than melted for dipping

Give up?

Cake Pop Alternative #1: Almond Bark with Sprinkles

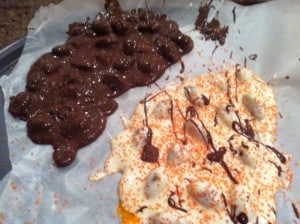
If you decide to give up your cake pops, a fun way to use up the melted chocolate is to pour it over some toasted almonds to make almond bark. Add extra flare by using up some of your unused cake pop sprinkles:

Make almond bark instead of cake pops

Cake Pop Alternative #2: Dipped Confections

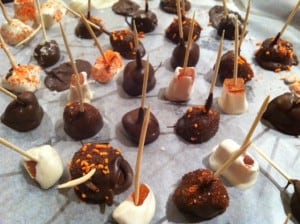
An easy way to get over your cake pop failure is to make these yummy treats which look great and are sure to please your party guests without any flops, explosions or clumps. I stuck toothpicks in pieces of Australian Gold Ginger and dried papaya. I dipped the candied ginger in the left over dark chocolate, and I dipped the papaya in the melted white chocolate. I left some of the papaya showing as it is orange and very Halloween-y. I also used up some of the sprinkles to entice visually and it also gives a yummy crunch to the candy treats. Yum!

Alternative to Cake Pops, Dip confections in chocolate coating and add sprinkles

Success!

However pleased I was with myself over these cake pop alternatives, I was still determined to make yummy and cute cake pops. Come back tomorrow to see how I conquered these obstacles, learned from my mistakes and made my cake pop adventure a success!

<– Part 1 | Part 2 | Part 3 –>

Halloween Cake Pops Part 1

Sunday, October 23rd, 2011

Part 1 | Part 2 | Part 3 –>

A few weeks ago I saw an article in Vashti Magazine about how to make Cake Pops and I immediately felt the urge to make them myself. They look so YUM! and they are sure to be a party pleaser on Halloween.

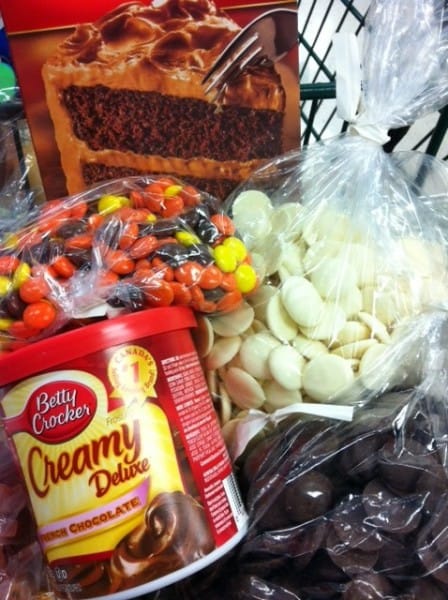
First thing’s first, I went grocery shopping to pick out a cake mix and some melting chocolate. I couldn’t believe that Save On Foods didn’t have any orange or black sprinkles. Shocking!

Ingredients in the grocery cart for making Cake Pops

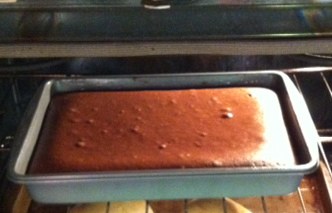
I used a Swiss Chocolate cake mix:

Baking the cake for Cake Pops

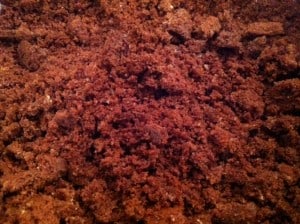
The cake pop recipe I’m using says to mix the cake in a food processor but since I don’t have one I simply tore it into pieces and crumbled it between my fingers:

Crumble the Cake once cooled, for making Cake Pops

The next step is to mix the icing into the cake mix. However, one of my twitter friends the Klumsy Artist, told me to watch out because cake pops made with store bought icing are almost too sweet to eat.

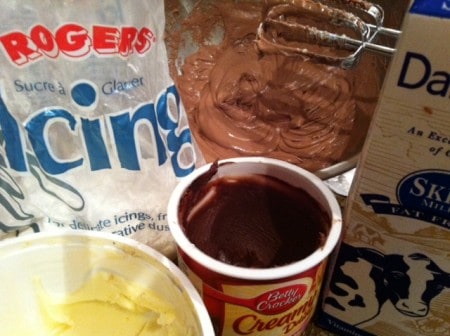
To cut the sweetness of the Betty Crocker prepared icing I mixed it 2 to 1 with margarine, added a teaspoon of vanilla, and a couple tablespoons of milk.

(To be honest, I actually mixed it closer to 1 to 1 and the icing started to taste too much like margarine so I added 1/2 cup of icing sugar to make it taste like icing again.)

The result was a nice butter-cream texture and flavour, much lighter than the packaged icing. Look at the difference in colour between my modified icing in the bowl and the store brand in the jar:

Cutting the sweetness from the prepared icing for the Cake Pops

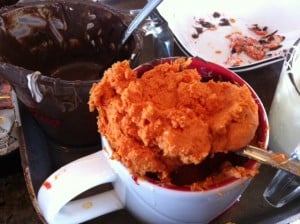
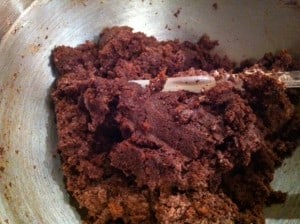
I then mixed a cup of my light creamy icing into the cake crumbs:

Mix the icing into the Cake for the Cake Pops filling

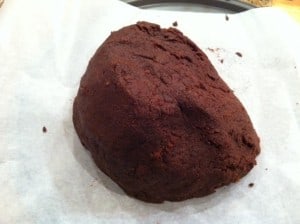
Using my hands I patted the mixture into a ball of cake fondant which has the consistency of very soft and fluffy cookie dough. You can still break it apart like cake, but you can form it like dough. It’s in-between:

Use your Hands to Mix the Cake and Icing into a fondant

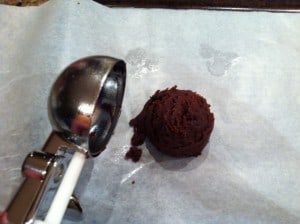
I wanted to make sure my cake pops are all the same size so my husband had the idea of using a levelled off ice-cream scoop to measure out the filling. What a great idea! He modestly gave credit to the fact that he used to work at Tim Hortons. Genius I say.

Use an ice cream scoop leveled off to creat uniform portions of cake pop filling

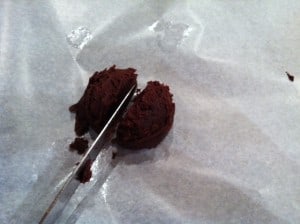
These scoops would make gigantic cake pops so I took a knife and cut each one in half:

Cut the ice cream scoops of cake fondant in half to form even balls

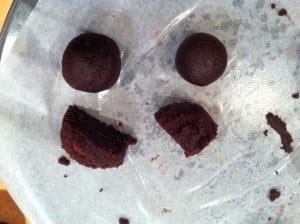
I counted up the scoops and realized I was only going to get 30 cake pops out of all this work. This recipe should make 40-50 so I promptly re-cut each ice-cream scoop of cake-pop-mixture into thirds rather than halves. This worked out to 44 cake pops instead of 30, woo hoo!

Here is the difference in size. See the half scoop sized ball on the left and the 1/3 sized ball on the right. Not a big loss in size for a big gain in quantity:

1/2 a scoop vs 1/3 scoop forming even Cake Pop balls

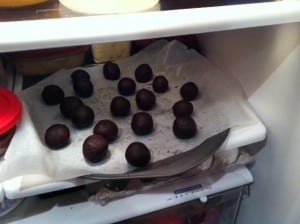
I was having a lot of fun and could have kept going but by this point the cake balls were getting soft and squishy and also a bit oily. Time to put them in the fridge for the night to let them set:

Place the cake fondant balls in the fridge overnight for the Cake Pops

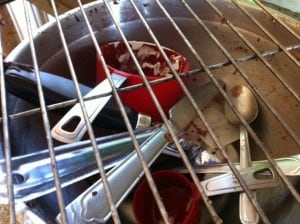
Oh boy, now it’s time to do the dishes:

Time to do the Dishes after making Cake Pops

Join me tomorrow when I finish creating my Halloween Cake Pops. :)

Part 1 | Part 2 | Part 3 –>