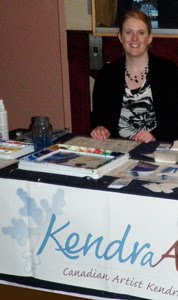
I can’t say I ever had a massive crowd lined up at my table; however, one man did wait 15 minutes to find out how to paint a birch tree with a fork! In fact, the organizer of the event came and told me that people were talking about my birch tree with a fork demo all the way up the village!
Here I will share with you the tricks behind the techniques: the unveiling of the magic!
1. How to Paint a Birch Tree with a Fork!

2. Turn Salt into Snowflakes!

As with the birch tree you must save your whites, so paint your background colour around any white areas, such as the snowmen in this example. While the paint is STILL WET, sprinkle some salt onto the painting.
At first you won’t notice any change, but slowly as the paint dries the salt will absorb some of the water and as it does it will also draw some of the colour towards it. This will leave magical little snowflakes in their wake. The wetter the painting when you drop in the salt the bigger the snowflakes (you can actually get quite a blizzard going), and the drier the paint the smaller the snowflakes will turn out, which works great if you are trying to create stars in the sky!
3. Paint Under Water with Cellophane!
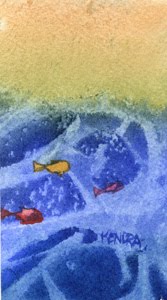
This is also very fun and a great exercise for giving up control since you never know how it is going to turn out. What you do is paint on your background very wet.
Make sure the paint is a lot darker than what you want it to be since a lot of the colour will be lifted off by the cellophane which you then place over the painting.
Press the cellphane into the wet paint and then let it dry. When you peel it off you will see the abstract pattern that it created in the painting. In this case it is meant to represent the light refracting through the water.
4. Use a Candle to Make a Moonlit Reflection
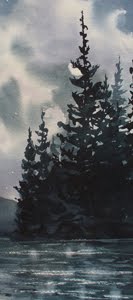
Since you want your horizon to lay flat it is imperative that you use horizontal strokes to create the reflections. The harder you press the whiter the reflections will be. Make sure you don’t get any candle wax above the edge of the water since you won’t be able to cover it up later. Now you simply paint your picture. The darker the colour you use for the water the brighter your reflections will appear.
In this case I waited for the paint to dry and then I used a damp brush to scrub some extra vertical highlights to make it really sparkle.
5. Turn a Carrot into a Person!
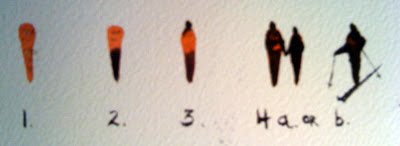
I can’t remember where I learned this trick but it is the best thing for painting natural looking people walking in your landscapes. This one works just like it sounds. First you paint a carrot. It doesn’t have to be orange, but I made this one orange for good effect. Don’t paint the greenery (unless you are painting someone in a Mardi Gras parade). Next add a head. Don’t paint the neck or it will look awkward. That’s pretty much it, but then it’s up to you if you add arms or props like skis and poles!
Here is an example where all the people started out as carrots:
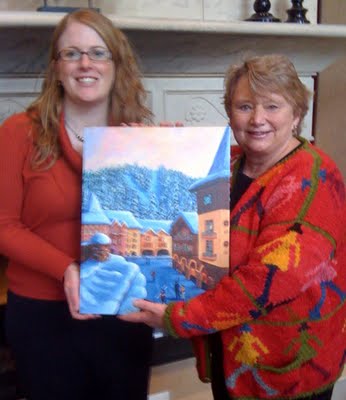
I can’t say I had as many onlookers as I hoped, but I can say that I certainly garnered a lot more interest due to these tips and tricks using everyday items. I also had a free draw which helped attract people over to my table. The highlight of my whole weekend was the delighted reaction from the grand prize winner. She couldn’t have been happier and that absolutely made my day.
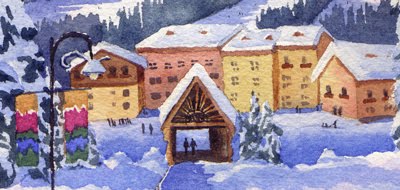
Here I am with the winner of my Sun Peaks limited edition giclee.



 Others such as these Lake Louise paintings will be sent to the Banff location of Mountain Galleries in the Fairmont Banff Springs Hotel:


